# Getting Started
# Directory Structure
Finch Studio follows the principle of "convention over configuration" for the directory setup of a project. All projects must have the same file structure conventions, which makes it easier to stay organized, write reproducible post-processing scripts, and share modeling projects within and between organizations. So it's a tiny bit of extra work to get your project setup, but afterwards Finch gets out of your way and let's you focus on the data insights and modeling.
.
└── Directory
    └── Project 1
        ├── models
        │   ├── Model 1
        |   |   └── mod1.ctl
        │   └── Model 2
        |       └── mod1.ctl
        └── data
           └── NM_data.csv
TIP
The names for Directory and Project n can be whatever you want. It is useful to have Directory be compound specific (e.g. Warfarin), and Project n be study/analysis specific (e.g. Study X, Study X - Interim, etc.)
TIP
All model controls streams must have a file name of mod1.ctl. The control stream has a suffix of 1 to make projects more compatible with post-processing tools such as Xpose.
Models are distinguished from each other by their directory name not the control stream name.
# Starting Your First Project
To begin your first project, create the directory scaffold below and ensure your you have a csv NONMEM dataset is in the data directory. You can call the Directory, Project, and NM_data names below whatever you want.
.
└── `Directory`
    └── `Project`
        └── data
           └── `NM_data`.csv
# Navigating to your project
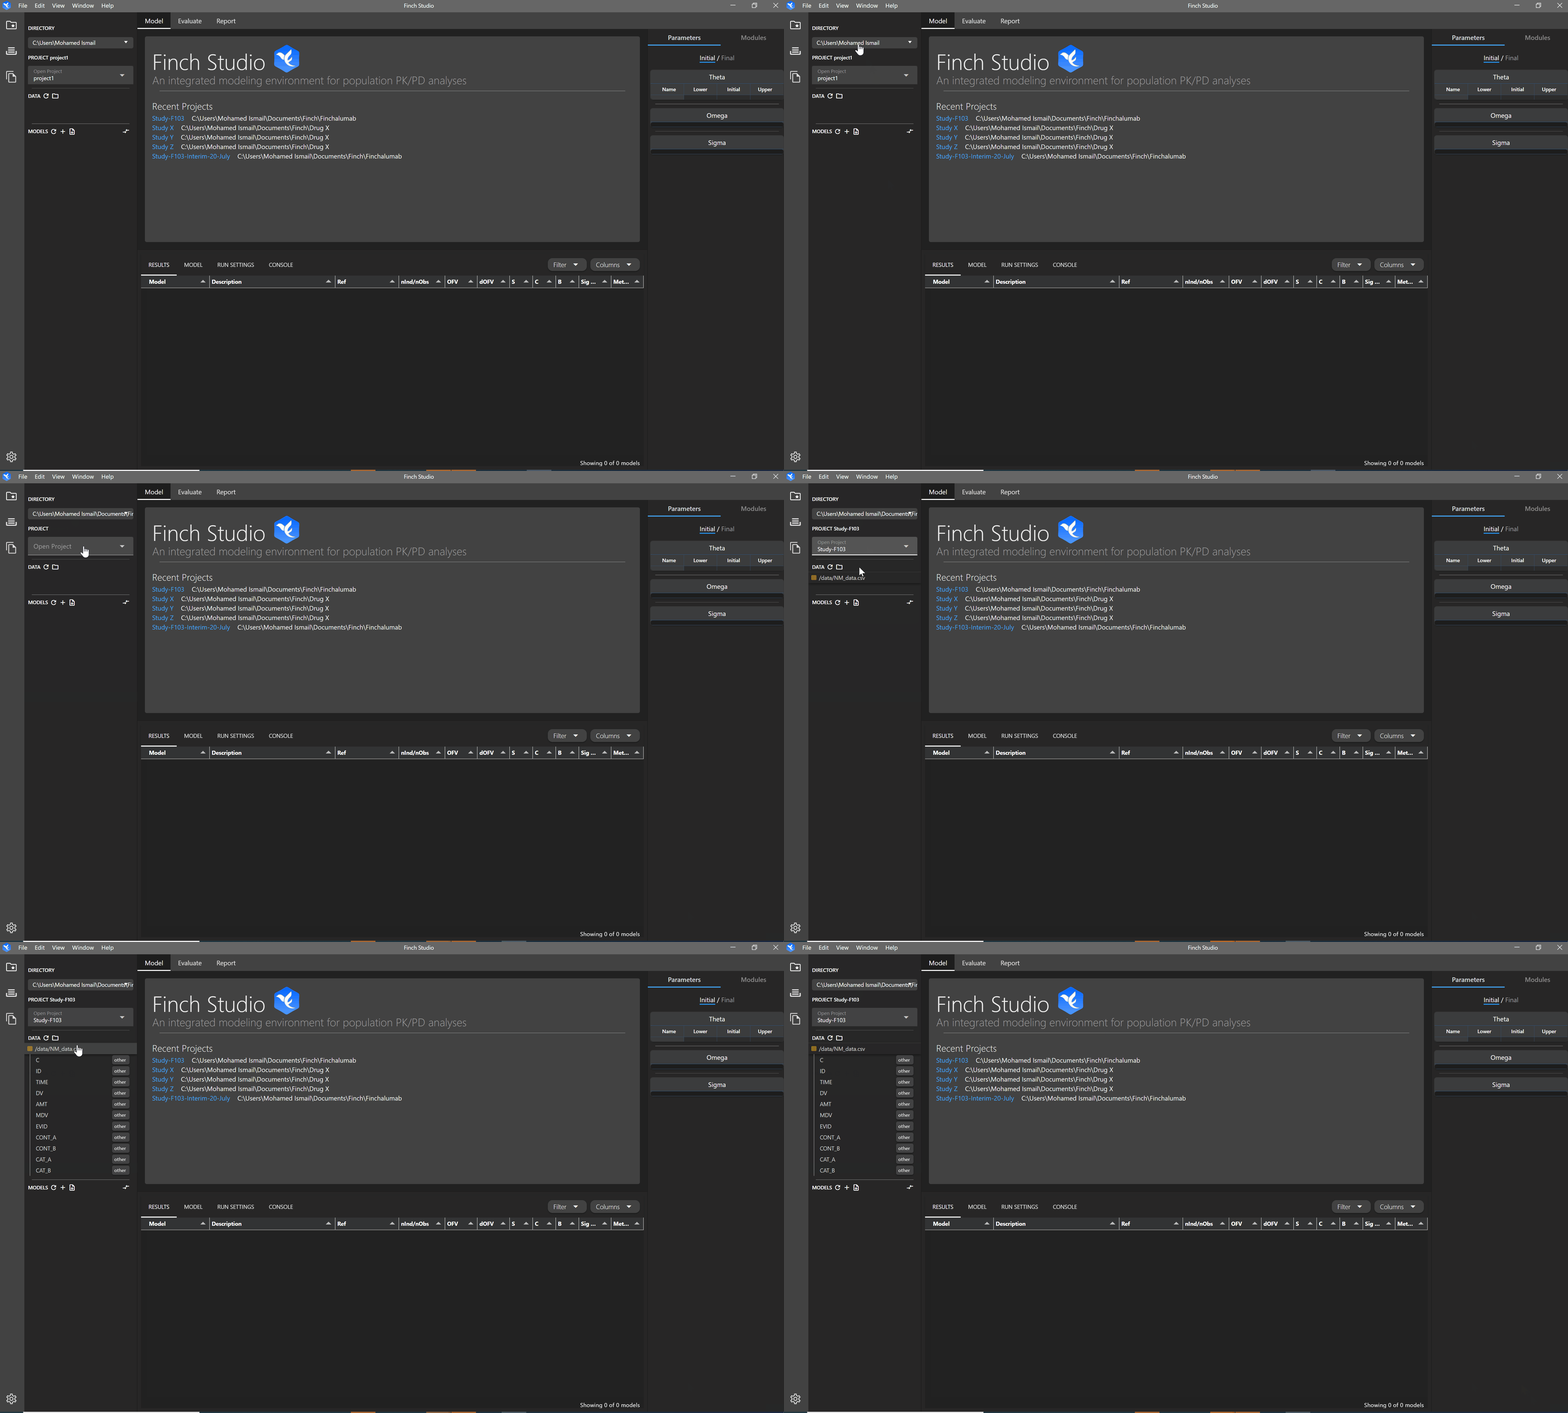
Navigate to the project you just created using the directory and project selectors on the left panel. Select your dataset using the folder icon on the left panel. You will know you project is set up correctly if you see your dataset appear under the Data panel after clicking the folder icon.

# Creating your first model
TIP
Before creating your first model, use interactive plots to check out your observed data in the Evaluate tab to inform your initial modeling starting point.
There are 3 main ways to create a new model for use in Finch Studio.
- Pre-existing model: Copy the mod1.ctl file to the ./models/model-XYZ/mod1.ctl location. Upon doing so, you will see the model appear on the left panel and you will be able to open the model in Finch's editor.
- Blank model: You can create a blank model by clicking the
New model (Blank)button in theModelssection on the left panel. For use with NONMEM, the blank model will populate the $PROB, $DATA, $INPUT, and $TABLE blocks. See Mapping Your Data to make best use of how Finch pre-populates your control stream. - New model from Library: You can choose a model from the built-in model library by clicking the
New Model from Librarybutton in theModelssection on the left panel. See Model Library for more information (WIP).
# Running a model
Once the model control stream is ready, you can run it by simply pressing the Run Model button on the bottom right of the code editor. Alternatively, you can right click on the model name, and click Run Model. Live output from the model run will be shown in the bottom section of the right panel. Additionally, to view interim results of the model run you can navigate to the model queue and click on the model run of interest.
TIP
Before submitting your model for execution with Run Model you can use the pull down menu to run NM-TRAN to check for errors. Errors and their positions will show up as red lines in the editor. Hover over the text to see the error message.